Never get rid of an old phone without doing this first
Sometimes you gotta wipe the slate clean
 Credit:
Reviewed.com / TJ Donegan
Products are chosen independently by our editors. Purchases made through our links may earn us a commission.
Wiping your phone of all its data is not only an essential step in the process of getting rid of an old phone, it's also the best way to give a slow phone a kick in the butt. We can't guarantee that your sluggish phone will suddenly seem speedy after a reset, but if you've got nothing to lose, it's worth a shot.
Easy there, tiger—before you go pushing the big red button, lets make sure you we're on the same page, here.
If all you're looking to do is restart your phone (that is, turn it off and then back on), all you need to do is locate your phone's power button and hold it down for several seconds. If you happen to be using an iPhone X, you might have to hold the volume down button at the same time in order to initiate the reboot process.
Phew. Dodged a bullet there, eh? Now, for those of you who want to erase the whole kit and caboodle, let's get down to business.
First things first: consider making a backup of your data
Before jumping head-first into the reset process, you might want to double- or triple-check that there's nothing you need to save before executing the deed.
For iPhone users, making an emergency backup is as easy as taking advantage of Apple's iCloud storage feature.
If you're an Android user, the backup process could be a little more complicated, since each facet of your digital life—texts, photos, music, apps—will need to be saved and accessed via a handful of different platforms. Google Photos, for example, might be an appropriate cloud-based solution for your camera roll, but text messages might need to be saved with another third-party SMS-saving app.
Android apps downloaded via the Google Play store, on the other hand, will remain tied to your Google Play account for future re-installations.
How to reset an iPhone to its factory settings

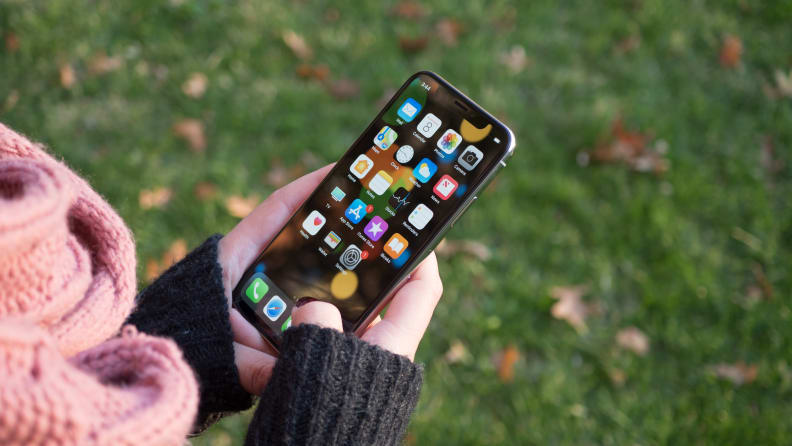
Perhaps you're gifting your old iPhone to a friend, or maybe you've decided to sell it to the highest bidder before the next one is released. Whatever the case, it's probably a good idea to wipe your data and return the phone to its original settings before you move on to the next one. If your iPhone's been getting sluggish, a factory reset might clear the decks of potential software hiccups that've been holding you back.
Fortunately, resetting an iPhone is about as easy as it gets thanks to Apple's intuitive, easy-to-navigate menu software.
1. Open the Settings app. 2. Select "General." 3. Scroll down to the bottom of the General settings menu. 4. Select "Reset." 5. From here, you can choose "Reset All Settings" or "Erase All Content and Settings." 6. To completely wipe your phone, select "Erase All Content and Settings."
Your iPhone will ask if you're sure (are you?), but once you approve the request, your iPhone is as good as wiped.
How to reset an Android to its factory settings

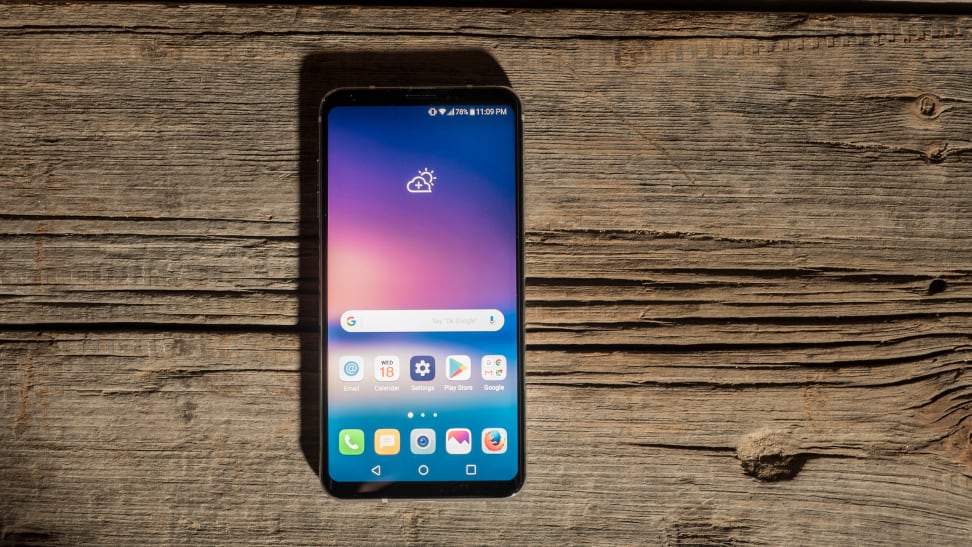
The process of resetting an Android phone is slightly different than it is on iOS, but that's to be expected. After all, not every Android phone features the same basic software and design language across different devices. Thankfully, the actual nuts and bolts of the process—regardless of the Android device in question—is easy as pie.
Like the iPhone, the reset option for an Android phone can be found in the phone's settings app. From there, you'll want to find the phone's general settings submenu. This menu could potentially be labeled "General management," "Basic," or "System," so tap around until you find it.
From here, the process is a breeze: Just select "Reset" (or whatever its equivalent might be) and confirm your actions.


