 Credit:
Amazon
Products are chosen independently by our editors. Purchases made through our links may earn us a commission.
Amazon’s Alexa can make your life easier and help you control your smart home. And, the best way to take advantage of all of the awesome things Alexa can do for you is by having an Echo speaker nearby.
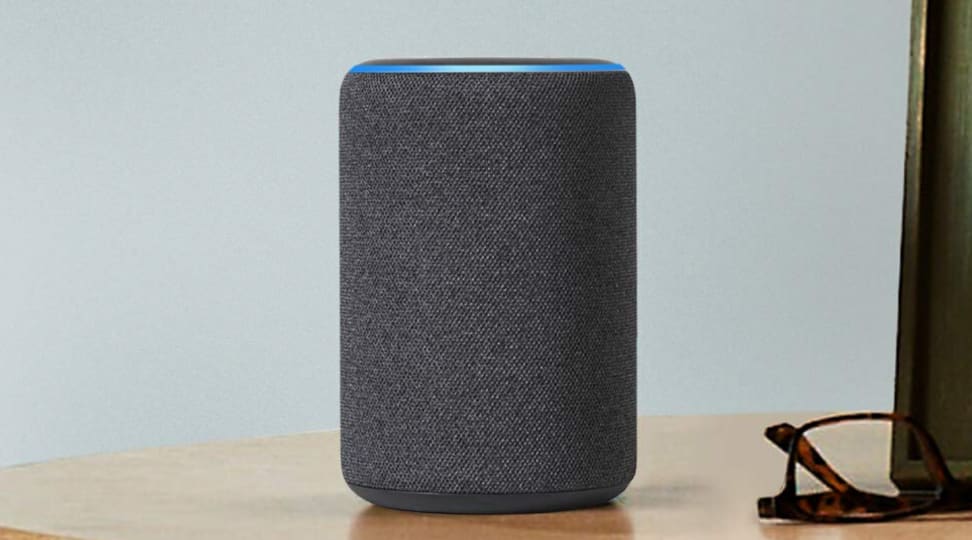
If you’ve recently acquired an Echo Plus (second-generation) but you’ve yet to unbox it, we are here to walk you through the setup process. Although configuring your new smart speaker doesn’t take much time, there are a few things you should know—and steps to follow—when setting up. So, without further ado, here’s how to set up your Echo Plus.
How to set up your Echo Plus (second-generation)

Make sure to download the Amazon Alexa app to help set up your Echo Plus (second-generation).
1. Download the app
Install the Amazon Alexa app (free for iOS and Android devices) to begin the setup process. If the Amazon Alexa app is already on your phone or tablet, check to make sure you’re running the latest version and there aren’t any updates waiting to be installed. To use the app, you will need to log in to your existing Amazon login or sign up for a new Amazon account.
2. Plug it in
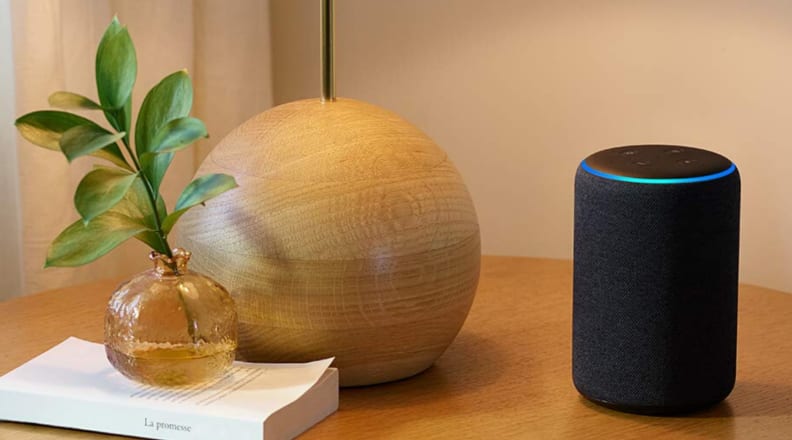
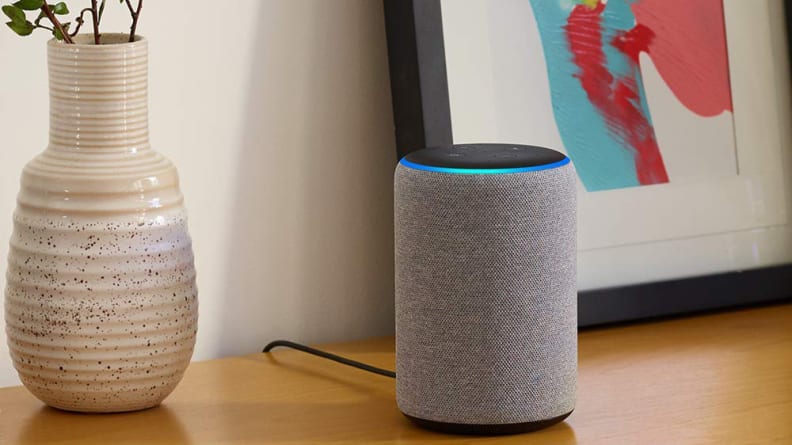
Go ahead and unpackage the device and connect the power cord to the back of the speaker. Then, find a spot in your home where you’re most likely to use your Echo the most, like the kitchen or living room. Once you’ve found a prime location, plug the Echo into a nearby electrical outlet.
3. Sync the Echo Plus with the app
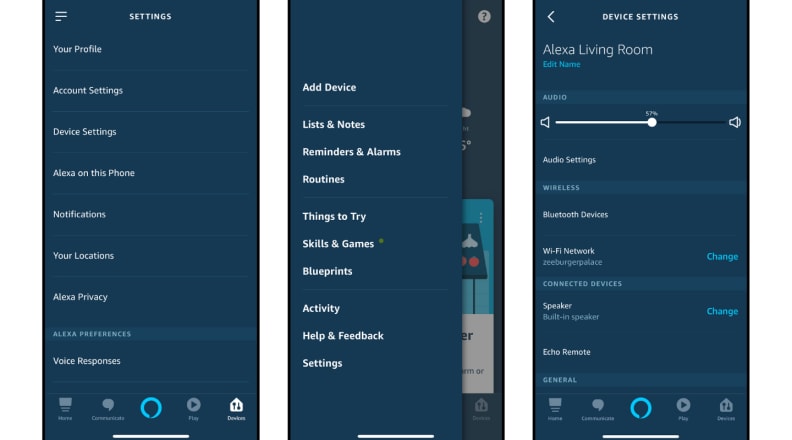
Next, open up the Amazon Alexa app and navigate to the Settings Menu in the upper lefthand corner of your screen. Tap Add Device, then select Amazon Echo > Echo.
4. Connect the Echo Plus to WiFi
Before you start asking your newest Alexa-enabled device questions, you need to connect it to your home's WiFi. This can be done by following the on-screen instructions in the Amazon Alexa app that appear during setup. (You can update the WiFi settings later in the Amazon Alexa app by navigating to Settings > Device Settings and choosing the device you’d like to update.)
Once you’ve successfully connected your Echo speaker to the internet, we recommend performing a quick test to make sure it is working as it should. You can say something as simple as “Alexa, hello,” and she will respond back with a greeting.
5. Getting to know your Echo Plus
With over 100,000 Alexa skills, there’s so much you can do with your Echo Plus like control your smart thermostat, turn your smart lights or smart switches on and off, make sure your smart locks are secured, and more. You can also sync it to music streaming services like Spotify and Apple Music.
However, the Echo Plus (second-generation) is the most ideal Echo speaker for controlling your smart home. Unlike other Echo speakers, the Echo Plus (second-generation) acts as a smart home hub that can connect to Zigbee-compatible devices without the help of a Zigbee hub. To check your network for smart home devices that work with Alexa say, "Alexa, find my devices.”
Why is this useful? Well, for example, if you've got SmartThings devices and Hue lights, you can use the Echo Plus (second-generation) to control your compatible smart devices all in one spot instead of managing several individual smart home systems. Additionally, since the Echo Plus acts as a hub for multiple Zigbee gadgets, it can save you a big chunk of change instead of buying multiple smart hubs to connect all of your devices.
Troubleshooting

Setting up your Echo Plus (second-generation) shouldn't take more than 10 minutes, but if you run into trouble, Amazon customer support should be able to help.
No luck setting up your new Echo speaker? First, make sure your Echo is plugged into a working power outlet. Second, check your WiFi connection to make sure everything is operating as it should. If your WiFi lacks the strength to reach all corners of your home, consider purchasing the best mesh WiFi router, which can help extend the reach of your internet at home, including to your Echo Plus (second-generation).
You can also try unplugging your Echo Plus from the power outlet and plugging it back in.
Still no dice? Resetting your Echo might help. To do this, press and hold the microphone off and volume down buttons on the top of the speaker at the same time. The light ring around the top will turn orange for about 20 seconds before turning blue. As you keep holding the buttons, the light ring will then turn off and back on before displaying an orange color again. This is when you know it’s back in setup mode, and you can release the buttons. Now you’re ready to repeat the setup process above.
If that doesn’t work, reach out to Amazon customer support for help setting up your Echo Plus (second-generation).
The Echo Plus (second-generation) and privacy concerns

The second-generation Echo Plus has an onboard temperature sensor and a Zigbee hub.
Privacy might seem like a thing of the past, as everywhere you go, there's some computer watching or listening. But in your own home, you can do a few things to protect yourself, even from naturally invasive smart home devices.
You can stop your Echo Plus from listening for (and possibly mishearing) your wake word by turning off your mic via the mute button on the top of the device. Or, turn on audible alerts within Settings in the Alexa app to know when your Echo is listening beyond just the indicator light (the Echo will chime when it thinks you’ve said the wake word).
Bloomberg recently reported that Amazon employs workers to manually review voice recordings, but you can opt-out of having your voice recordings included in the review process by going to Settings > Alexa Privacy > Manage Your Alexa Data, then toggling off the setting that says Use Voice Recordings to Improve Amazon Services. In these privacy settings, you can also delete voice recordings, which are accessible to anyone you share the app with. You can even set up auto-deletion every three or 18 months.


