 Credit:
Reviewed / Jonathan Hilburg
Products are chosen independently by our editors. Purchases made through our links may earn us a commission.
There are plenty of capable keyboards available for both office work and play, but some of the best gaming keyboards will run you well over $100, and sometimes over $200. But if you want build your own cheap gaming keyboard without spending several hundred dollars, it’s possible to stay below $120 and still get something competitive.
For that price, you can pick up a pre-assembled version of the excellent Glorious GMMK 2, but building your own mechanical keyboard from scratch will help you troubleshoot issues later on and customize it far beyond an off-the-shelf keyboard. You don’t need a soldering iron, either.
The basics
There are three main components of any mechanical keyboard: the board itself, the mechanical switches, and the keycaps. You’ll need to decide what keyboard layout and size will work best for you, but you should always buy a hot-swappable board, meaning you can change out mechanical switches on the fly. Otherwise, you’ll need to solder each switch to the PCB.
Other features like dedicated volume knobs or programmable RGB can also be found even on cheaper boards nowadays.
The types of switches you buy will determine how your custom mechanical keyboard sounds, feels, and performs. The three main types are linear (which depress linearly), tactile (which has a small bump before you hit the bottom), and clicky (which can be linear or tactile in feeling but will always make a loud click when depressed). Linear switches are better for gaming as you can rapidly press keys in succession, while tactile switches are generally better suited for typing or other productivity tasks as the extra force required to press them helps prevent typos.
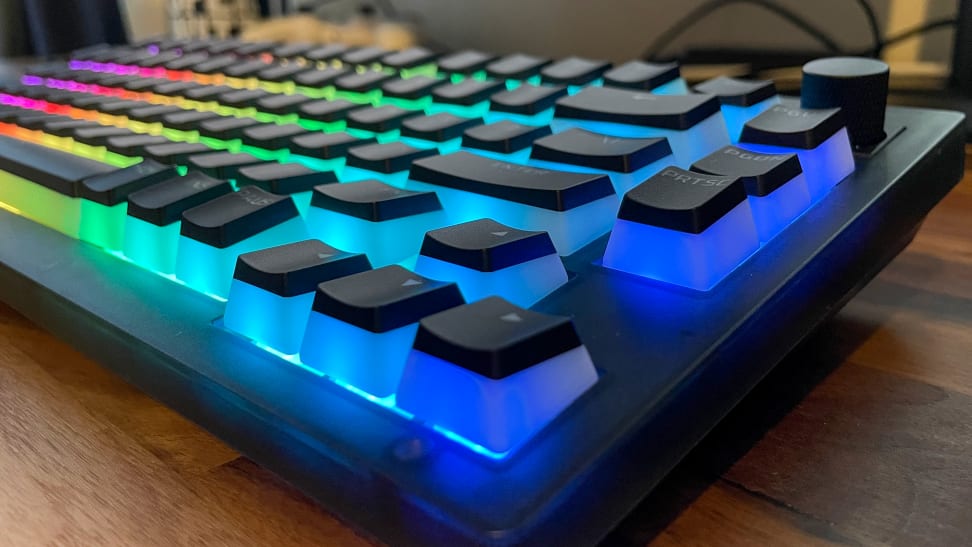
Finally, keycaps will sit over the switches and determine both the look and ergonomics of your keyboard. If you plan on building a keyboard with RGB lighting, it’s a good bet you’d want to see it in action through the keycaps. The shape and height of each cap will also affect your typing experience and how you rest your wrist; you can get everything from flat, uniformly-shaped keycaps to tall, sculpted keycaps that offer a different shape on every row.
This guide from Keyboard University explains the basics of keycaps shapes, material types, and switch compatibility.
The board
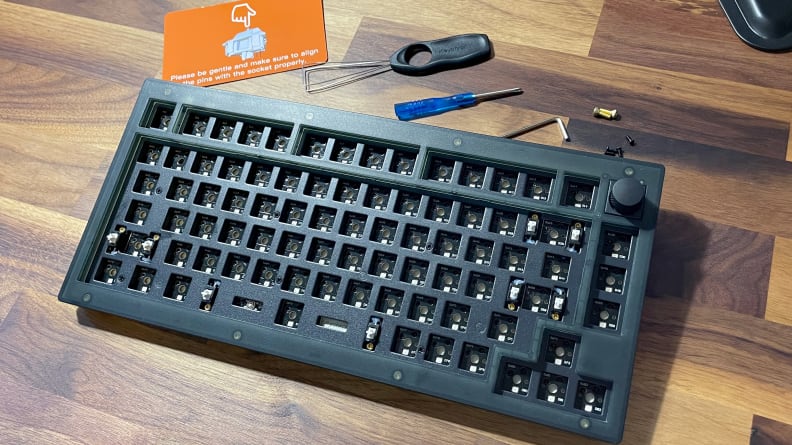
A board with a layout that accommodates gaming is important.
This will literally be the base of your new keyboard. For most gaming, a 65% or 75% board that eschews the numpad will do just fine. But if you really need a keyboard with a 96% or 100% layout, like the Corsair K70 RGB Pro, this guide will still apply—just be sure to purchase enough switches. At this price point (sub $120), there are three barebones boards I would recommend.
The Keychron V1 is a translucent plastic version of Keychron’s $150 aluminum version 2 Q1 but available for only $70. The knob version of the V1 board will cost $80 and has space for 82 keys, while the non-knob version has 83.
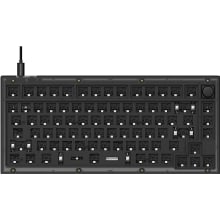
The barebones Keychron V1 is a great entry-level mechanical keyboard.
Glorious’s barebones GMMK 2 comes in two sizes; a compact 65% version with 67 keys for $80 new and $70 renewed, and a full-sized, 96% version with 99 keys for the same price.
Both Keychron’s and Glorious’ boards have RGB and allow for key remapping, but are wired-only. If you want a board that can connect via Bluetooth, 2.4GHz wireless, and over USB, the $70 GK GAMAKAY LK67 is a great option. It’s a 65% board with 67 keys that includes a volume knob, comes in a variety of colors, and has decent stabilizers for the price (the additional bits on the edges of longer keys that distribute pressure evenly when pressed).
The switches
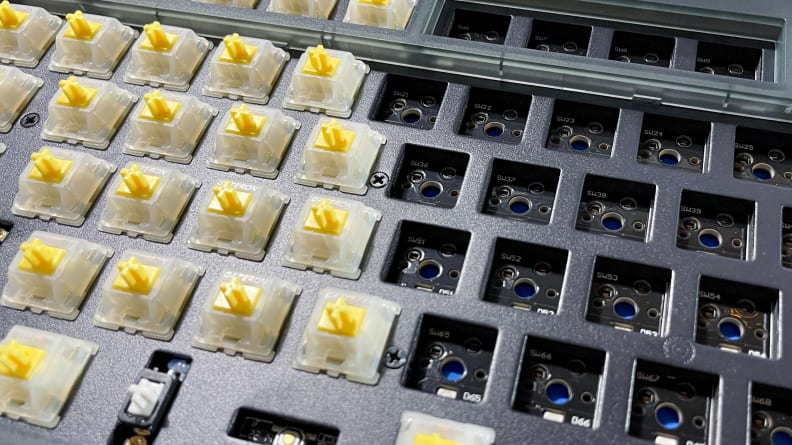
Comfort is key, so the switches you pick can make a difference.
The two main switch manufacturers that will provide the broadest range of compatible parts at this price are the Germany-based Cherry and China-based Gateron, which both use the same cross-shaped stem for their switches. Although there are dozens of other switch manufacturers, Gateron switches provide the best balance of performance with price.
That’s exemplified by their Gateron Milky Yellow switches, and keyboard enthusiasts swear by these linear switches. They’re fast, feel good to use, have a nice sound, and you can find a 70-pack on Amazon for about $22, or $28 for a pack of 110.
For this build, we’re going to go with linear switches, but because you’re putting together a keyboard from scratch, you can mix and match if you want. I use Cherry MX Speed Silver switches at home, the same kind found in the Corsair K70 Pro Mini Wireless, but the sky’s the limit.
If you want to up your budget, Gateron Oil King switches feel fantastic to type and game on while delivering a satisfying sound, but cost about twice as much as Milky Yellow switches.
The keycaps

Careful you don't overspend on your keys.
Keycaps can actually be the most expensive part of a keyboard build, but they don’t have to be. While a quality set from a retailer like Drop can cost well over $100, keycaps in the $20 to $30 range will work just fine for a budget build. And remember, you can always go back and buy a new set down the line.
To keep our total under $120, I opted for HyperX’s Pudding Keycaps. They’re made of durable Double-Shot PBT plastic, come in black or white, will let you see any RGB effects underneath, and you can get a full 104-key set for only $20. These keycaps come in the taller “OEM” profile, but if you want something more ergonomic, just make sure that the product is compatible with your switches.
Personally, I prefer white keycaps and haven’t had any trouble with this generic minimalist set from Gliging that includes 137 shorter Cherry-profile keycaps for only $26.
Putting it all together

Now you're ready to get your game on!
Finally, it’s time to build your new keyboard. Assembly should be as easy as populating each empty switch socket with a key switch, then popping a keycap on top. It always helps to refer to a photo or diagram of the fully assembled board to see which keycap should go where, even if you can reprogram them later.
Your board should also have come with a keycap and switch pullers, or one combined tool. This will make removing the keycaps and switches later a breeze if you need to change something.
There are also a few simple tricks that will let you make the most of your new keyboard. One popular hack is the tape mod—this involves taking apart your board and applying blue painter’s tape to the underside of the keyboard’s PCB before you insert your switches. For only a few dollars (or free if you already have a roll), the tape acts as a low-pass filter that will give your keystrokes a more satisfying “thock” noise.
Another easy way to optimize your keyboard is to download VIA, an open-source program that will let you easily rebind keys and create custom lighting effects. VIA boasts compatibility with over 1,200 different boards and it’s a viable alternative to Glorious’s CORE software, which only works on Windows; VIA offers Mac support, meaning any keyboard you build can work seamlessly across operating systems.

