 Credit:
Flickr user "area"
Products are chosen independently by our editors. Purchases made through our links may earn us a commission.
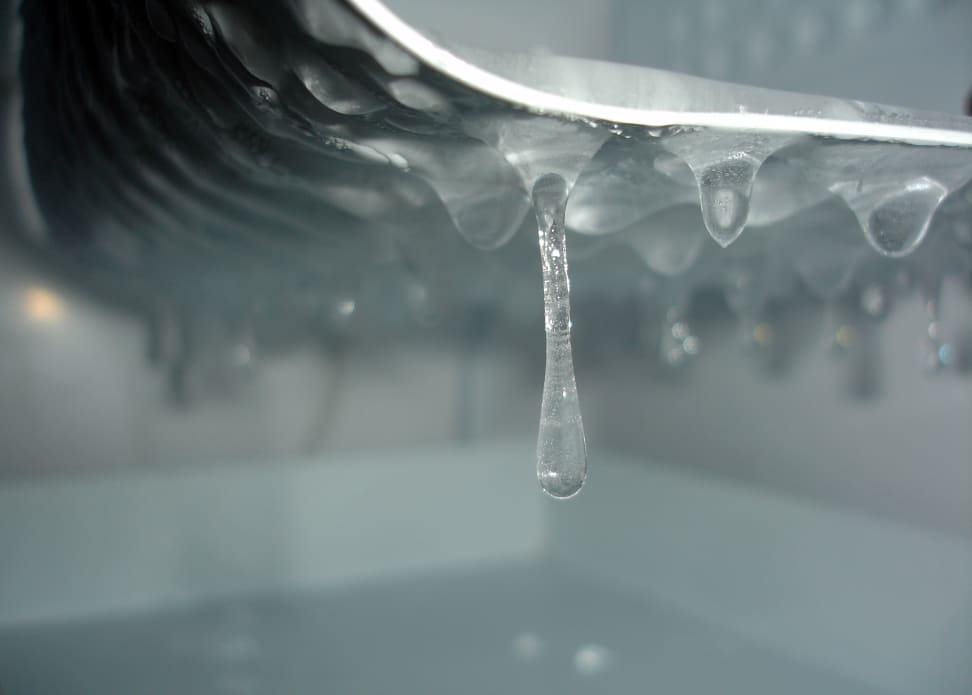
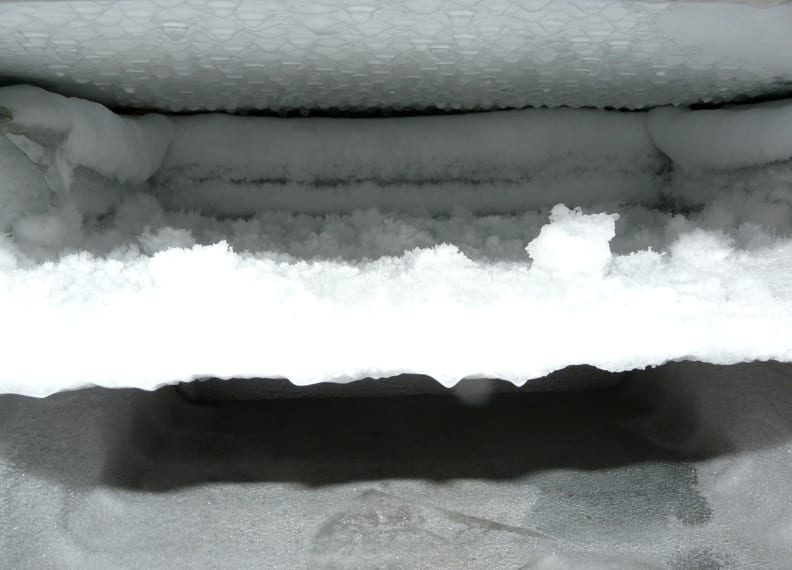
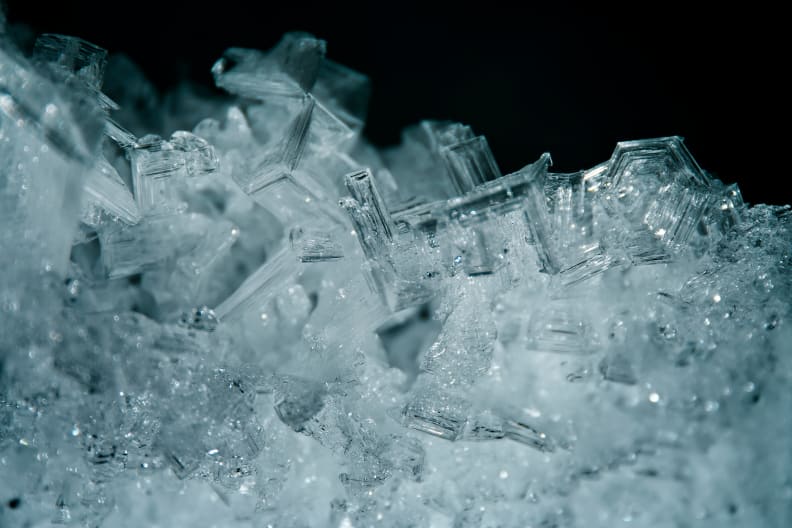
It may seem counter-intuitive, but frost build-up in your freezer should be avoided at all costs. Why? Because it significantly reduces your machine's efficiency and, over time, may compromise storage space. All that excess frost can even impart undesirable flavors to ice cubes and food.
Freezers, like refrigerators, need proper ventilation to work well. The compressor, located at the back of the machine, is constantly working to funnel warm air out of the cavity and maintain low temperatures. When the walls of the freezer are encased in ice or frost, the compressor has to work harder and longer to reach the target temperature (usually 0°F). This not only raises your utility bill, it will also likely reduce the lifespan of your fridge or freezer.
For this reason, you need to periodically defrost your freezer. Doing so will improve the efficiency of your machine and prolong its life. There are a few ways to go about it, but first we need to cover some preparatory steps.
1. Get Everything Ready

Turn the Fridge/Freezer Off
This may seem obvious, but it's worth emphasizing: Turn the freezer off!
Some folks recommend emptying the contents first, but that makes little sense if there's a lot of stuff in there—you'll only tax the freezer's compressor trying to regulate all that incoming warm air. Just turn it off.
Empty the Freezer
If you want to keep your food from thawing, you'll need to put it in a cooler—or at least a cool area of your house. You can use ice from the ice-maker to help keep items cold.
If it's winter and there's snow on the ground, nestle your food a snowbank. Be conscious of which foods are most sensitive to thawing. Chicken, for example, shouldn't be re-frozen once it's been thawed. And maybe take this opportunity to eat that old container of frozen chili?
Remove Shelves and Trays
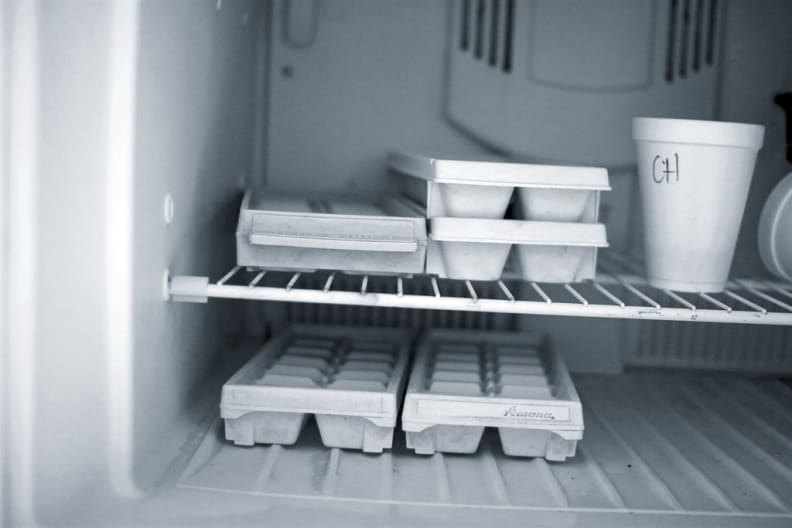
{{amazon name="Arctic Chill Large Ice Cube Tray", asin="B00I3LDJJW", align="right"}} If nothing else, this is a good opportunity to do some fridge cleaning, especially the ice-maker. Remove any trays or containers that might be in your fridge and scrub them clean with soap and water. If they're covered in ice and won't budge, leave them there—no reason to risk breakage.
Prepare for Lots of Water
If your freezer has a drain or drainage hose, great! Prop the unit so that the melting ice can easily access the drainage outlet.
If you don't have a drain, you may want to place some towels or newspapers (or both) along the base of the machine to absorb the accumulating water and minimize your cleanup. It's inconvenient, but it's also the only way to effectively defrost your freezer.
2. Choose Your Method

Just Wait for the Ice to Melt
It shouldn't come as a surprise that this method takes the longest. On the other hand, it's also probably the safest.
Make sure you maintain a constant supply of towels and absorbent materials to soak up the slow accumulation of water around the base of the fridge or freezer. This is the baseline defrosting process; anything you do on top of this will only speed up the process.
Note: It's worth mentioning that you shouldn't simply hack away at frost buildup like a mad viking. You're sure to damage the interior of your freezer and likely hurt yourself in the process. Let nature take its course!
Use a Pot of Hot Water
If you want to speed things up a bit, an easy solution is to boil some water in a pot, place it in the freezer, and close the door.
The steam coming off the pot will help the frost melt more quickly, so you should expect water to puddle outside the fridge a little faster. You should also place a thick towel or oven mitt between the pot and the freezer shelf, as the high temperatures can damage the plastic lining.
Use a Fan or Hairdryer
{{amazon name="Revlon RV544PKF 1875W Tourmaline Ionic Ceramic Dryer", asin="B000FS05VG", align="right"}} Blowing warm air directly into the freezer will help accelerate the melting process. A fan will work faster than simply waiting for the frost to melt, but it will still take quite a while—particularly if your kitchen isn't very warm to begin with.
A hairdryer will work faster, but you have to be careful to keep the electrical cord away from the water collecting outside the freezer. You should also avoid blowing hot air on any given area for too long, to prevent warping or damaging the freezer itself.
Use a Cloth Doused in Hot Water or Alcohol
Another less electrical option is to douse a wash cloth or towel in warm water and gradually wipe away the frost. Depending on how much ice has built up, you may be able to remove the frost without actually chipping it away. But if the frost build-up is extreme, this will only help accelerate the melting process by a small amount.
You can also douse the cloth in rubbing alcohol, which has a much higher freezing temperature than water. Again, this works best with only the slightest frost build-up.
3. Clean Up

After a certain point, you may be able to simply wipe or scrape away any remaining ice. At that point, take the opportunity to clean your freezer.
Use a standard household cleaner to remove any mold, dirt, or food residue. Clean the ice maker, remove any excess moisture until the interior is completely dry, then mop up the water left by the melted ice. Put the shelves and containers back in place.
Finally, wipe the gaskets clean and make sure the freezer vent isn't clogged with dirt or food residue. These last two points are important, because they ensure that you won't have to do this again for a while.
Now you can restock the machine, plug it in, and rest assured that your freezer is working properly and efficiently. Hopefully it didn't take too long!


