This $3 item will give you perfect cookies every time
From Silpat mats to parchment paper, here are the best ways to prevent your cookies from sticking.
Products are chosen independently by our editors. Purchases made through our links may earn us a commission.
Let's say you're baking a batch of cookies. You have a great cookie sheet, a killer recipe. When you pull them out of the oven, they look beautiful. You grab your spatula to lift them out of the pan, and they.... won't budge. Ten minutes later, you have a plate of broken cookies with blackened bottoms. What did you do wrong??
It's simple: you forgot to think about your baking surface. Did you grease your pan? Would it be better to unroll a Silpat mat, slice a piece of parchment paper to size, or even use a length of foil? Your baking surface matters, and parchment paper is going to give you a different experience than, say, an ungreased nonstick baking sheet.
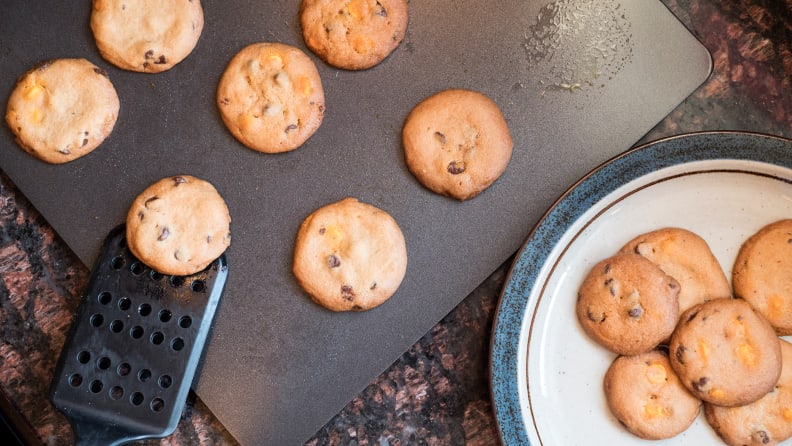
Friend, you've got options. And with the lives of many innocent cookies are at stake, I decided to bake cookies directly on my pan, with a silicone baking mat, on parchment paper, and on foil to see which option was best. Here's what I learned.
For the easiest transfer of cookies from pan to plate (or mouth): Parchment Paper

The easiest way to remove your cookies from the pan is to bake them on a parchment paper-lined pan, then to slide an entire sheet of parchment paper onto a waiting cooling rack when they're done baking. This works super well if you have a rimless cookie sheet like our beloved Airbake sheet, but far less well if you’re using an all-purpose rimmed sheet like our favorite Nordicware.
The benefit of parchment paper is also easy cleanup. Even if you end up scraping your cookies off the paper with a spatula, you’re keeping the mess away from the actual pan. This means that come dishwashing time, you can simply throw away the used parchment paper and give your sheet a quick rinse.
As a bonus, this stuff is cheap—you can get 22 pre-cut sheets for just under $3!
To protect your baking sheet: Nonstick Silicone Baking Mat
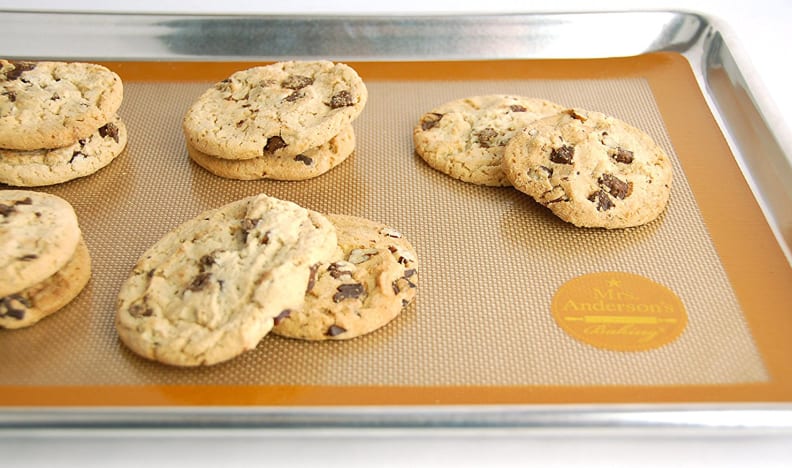
While not a baking requirement, these are a staple in many kitchens for good reason. I haven’t been using one for long, but I’m already convinced it will make all of my baking sheets last longer. Since you can find a mat that's exactly the size of your pan (I used Mrs. Anderson’s Non-Stick Silicone Baking Mat, perfectly fitted for my favorite baker's half sheet), it will cover the entire bottom of your pan and protect it from any unfortunate food disasters that would otherwise stick to your sheet.
Food lifts from the mat with no trouble, and the mat itself is easy to clean. An added benefit is that the bottom of your cookies are less likely to burn, as they’re further away from the strikingly hot metal of your baking sheet. The biggest downside I found was that you have to wait for the mat to cool completely before you can move it. It’s slightly sticky and stays hot outside the oven for longer than parchment paper or foil, which means there’s no chance of sliding it off onto a cooling rack or tray.
To cut down on kitchen clutter: Nonstick Baking Sheet
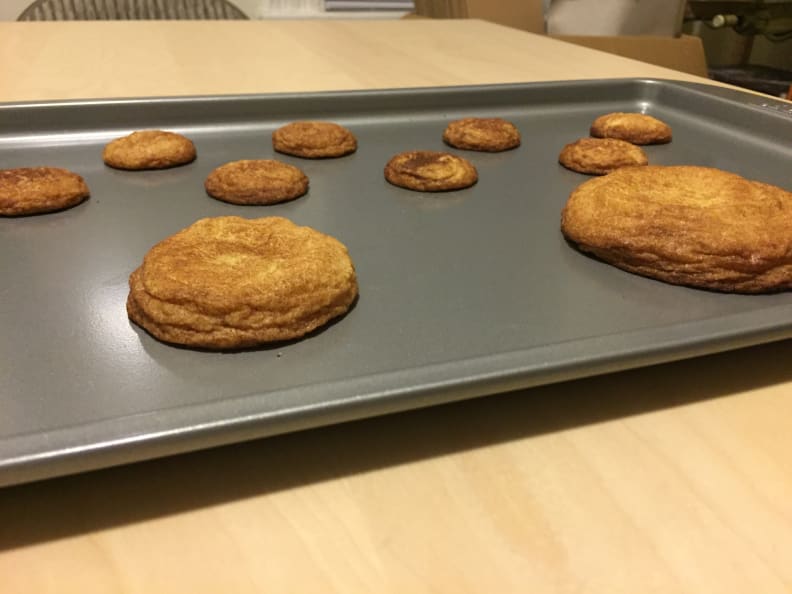
Bake too infrequently to own a baking mat or roll of parchment paper? You can always bake directly on your nonstick baking sheet. That’s what they’re meant for, after all! Cookies will come off easily and the sheets should clean quickly—but your baking sheet is more prone to wear, tear, and accidental disaster at the hands of roasted vegetables or a surprise “left-in-the-oven-too-long” event. You also have to be very careful about not using a metal spatula, or any metal cookware for that matter. Nonstick coating can scratch or burn, and once it's damaged, the pan needs to be replaced.
I also found in my tests that cookies had a crispier bottom when baked directly on the sheet. This is due to being in more direct contact with the heat. If that’s your cookie preference, or you’re just feeling a bit lazy, this is always an option.
In a pinch: Aluminum Foil
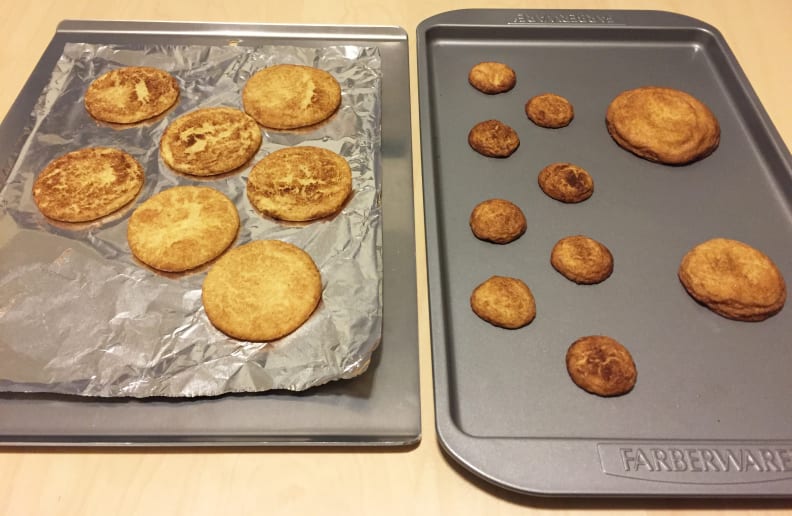
Before this test, I’d never baked cookies on foil before. While I’d roasted many vegetables wrapped in shiny aluminum, I’d never considered it for cookies! And after testing, I think I know why.
This was my least favorite baking surface, as my cookies spread out and stayed very thin rather than puffing up. I also accidentally tore the aluminum sheet when using a spatula to take things off, and I worried I would scratch my baking sheet if I wasn’t careful when I tried to slide the entire piece of foil off as I often do with parchment paper.
That said, this isn't not a bad option in a pinch. The bottoms of my cookies didn’t burn, and the foil cooled down quickly after baking. This meant I could (very carefully) take the foil off of the baking sheet and transfer to a cooling rack, sidestepping the unfortunate likelihood of scratching through the foil and making a mess. It also prevents you from getting your pan too dirty, which makes for easier cleaning.
So What Should I Do?
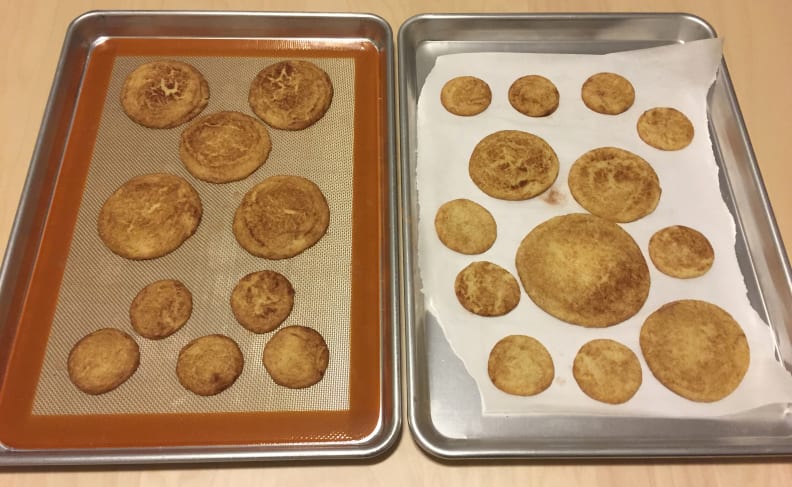
For easiest cookie removal (and easiest cleaning overall), use parchment paper on a rimless cookie sheet. You can slide everything off en-masse, slice a new sheet of parchment, and keep on baking.
For chewy cookies with browned bottoms (and so you never have to worry about accidentally ruining your pan), use a non-stick silicone baking mat.
In a pinch? Don’t worry too much—whatever you have on hand may not be perfect, but even ugly cookies are still cookies. And cookies are amazing.
