Products are chosen independently by our editors. Purchases made through our links may earn us a commission.
Surprising fact: The popular belief that we lose most of our body heat through our head has been disproven. But that doesn’t mean you won’t be more comfortable donning a knit beanie or a wool paperboy cap or even a baseball cap during the freezing winter months. No matter what your headgear fashion statement, these accessories do a major number on our hairstyles. Without avoiding hats altogether, here are a few steps you can take to ensure your hair isn’t a flattened or staticky mess after covering up your head this winter.
Step 1: Choose the right hat
Any hat is bound to mess up your hair if it’s too tight around your head. To purchase the right size in a structured hat, trace around your head, above your ears and across the mid-forehead with a measuring tape. Then, seek hats that fall within your measurements. If you’re between sizes, go for the larger option. If the hat in question is stretchy instead of structured, make sure the band isn't so tight that it's leaving red marks on your skin. Again, aim to buy a looser-fitting hat, but not so loose that it’ll fall or shift around uncomfortably.
If flat hair is a bigger concern than warmth, choose lighter fabrics like cotton or fleece that won’t weigh the hair down, unlike heavier ones like wool. Bonus: Cotton hats shouldn’t cause any crazy flyaways because cotton doesn't have a static charge.
Step 2: Prepare your hair

Dry your hair completely before sticking a hat on top of it.
Before you put any hat on your head, make sure your locks are completely dry. Wet hair is easily moldable and if a hat is put over it, you’re sure to end up with wonky dents or a ring around the head once it dries (hello, hat head!).
When your hair is dry, consider parting it to the opposite side, or to one side or the other if you usually part in the middle. When you take the hat off, flipping the hair back to your normal part should create volume at the roots, as it’s going against the previously set hair pattern.
Step 3: Eliminate static
When your hair is prepped, rub a dryer sheet lightly along the inside of the hat to prevent any static electricity that may create flyaways and cause your hair to stick up. The dryer sheet should prevent an imbalance in electrons caused by the rubbing of two materials together—in this case, your hair and the fabric.
Despite your best efforts to avoid it, if you take your hat off and notice the effects of static electricity, gently rub a dryer sheet over your hair until you notice the hair falling back into place. But don’t run a brush through the hair before introducing the dryer sheet, as the static electricity will likely worsen.
Step 4: Give hair a post-hat boost
Hats may also cause the opposite of poofy staticky hair: flattened, unlively locks. To combat this, try applying a texturizing spray to the hair, like the Bumble and Bumble Thickening Dryspun Volume Texture Spray. This translucent spray claims to add volume and texture with zeolite (minerals that contain aluminum and silicone compounds) and silk powder, while also nourishing it with hydrolyzed wheat protein. To add body back into flattened hair, shake the can and then spray it 10 inches away from the hair wherever you need lift.
Step 5: Bring in reinforcements

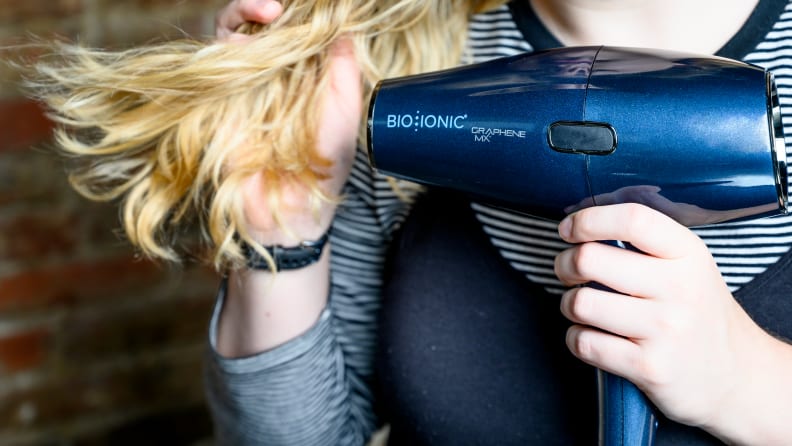
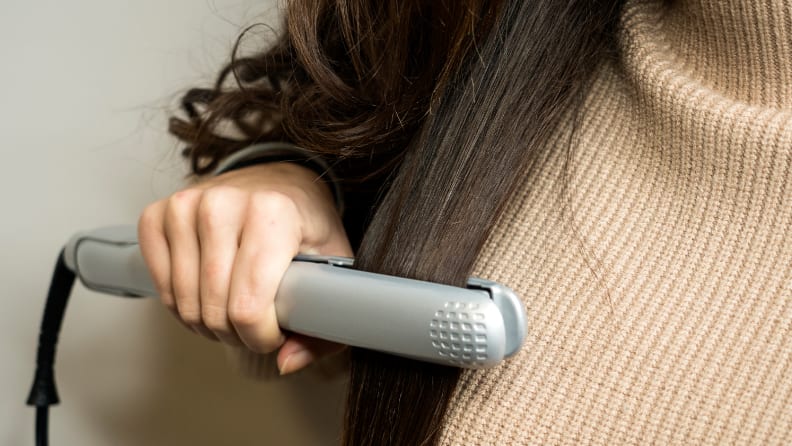
You can always touch up your hair with hot tools.
If you’ve eliminated static and added a texturizing spray but still can’t get your hair back to peak volume, or if it has dents that you can’t zhuzh up, you should turn to a trusty curling iron or hair dryer or a flat iron, to restyle.
Or, if you’re wearing your hair natural, or without styling from hoot tools, you can dampen and scrunch or use your fingers to reset your 'do.
